I have a gitlab instance set up to host my own git repositories. It is a pretty handy app, you get the features of github, but without having someone else holding your code.
I keep the theme for this website as a git repository and wanted to automatically deploy new changes once they are pushed to the master branch. Luckily, gitlab has a webhooks feature, it will call any URL you specify and send a JSON request after every receive.
Setting up a receiving service
I did some searching on the internet and found a nice python script written by olipo186 here. This script can be run as a daemon and will listen on any port you specify.
Setting up a deploy key for your user
You will need to setup a deploy key for the user that the script will be running under. In my case, I will use the user I am currently logged in under. To generate the key:
|
|
Now we need to copy our public key over to our gitlab server. To view your new public key, use this command:
|
|
Copy the entire contents of the file. You will now need to login into GitLab, click on your Project, then click Settings. On the left hand side click on the link “Deploy Keys”, then click “Add new key”.

Give your deploy key a name, and paste your public key in. Click “Save”.
Cloning the GitAutoDeploy project
Clone the GitAutoDeploy repository:
|
|
You can now copy the example configuration file:
|
|
Edit the configuration file:
|
|
You will see these lines to edit:
|
|
Pretty self explanatory configuration. Port is the port you want the service to listen on. Path is the path you want to deploy to. Deploy is a command you can run after pulling the changes. In my case I set it to restart my running ghost node, so the changes show instantly.
Clone your repository
We need to test that our deploy key is working, and do an initial clone of our repository, otherwise the script will error out when we run it.
Change to the directory that you will keep your production code in and clone your repository:
|
|
You should successfully clone the repository. The GitDeploy configuration should use the above repository directory.
Testing the python service
Change back to our directory and start the python service
|
|
The script should start up.
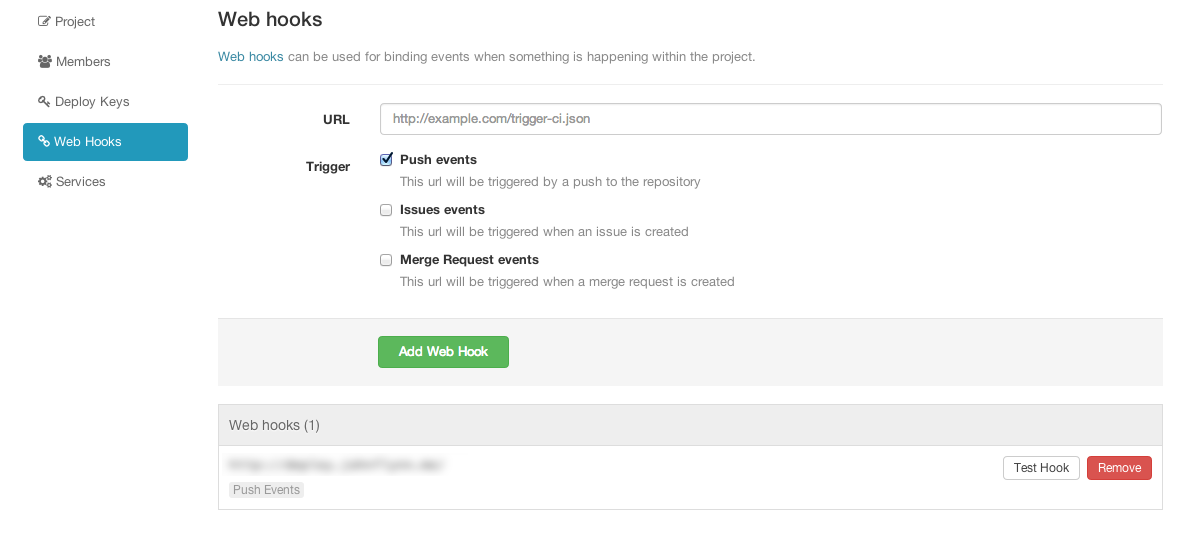
We now need to add our web hook URL in GitLab. You should still be in the settings area for your project in GitLab from when we added the deploy key. Click on “Web Hooks” on the left. Click “Add Web Hook”. Give your web hook a name and type in the URL of your running service. You can now click the “Test Web Hook” button. You should see your running script generate output.
Running the script as a service
In order to avoid having to start up the script manually after rebooting the server, we should create an upstart job.
|
|
Insert the following lines into the file and save it.
|
|
Replace “username” with the user that you want to run the service under (the user you generated the deploy key for).
|
|
Now when you make changes to your code and push it to your repository. Your production server will automatically download the new code changes, saving you a few steps.
Join the chat!
Because Disqus requires cookies, this site doesn't automatically load comments. Clicking the accept button below will set a cookie to remember your preference to enable comments for 90 days, after which, you will need to click accept again.